- Published on
Installation and Configuration of Kong Microservice API Gateway
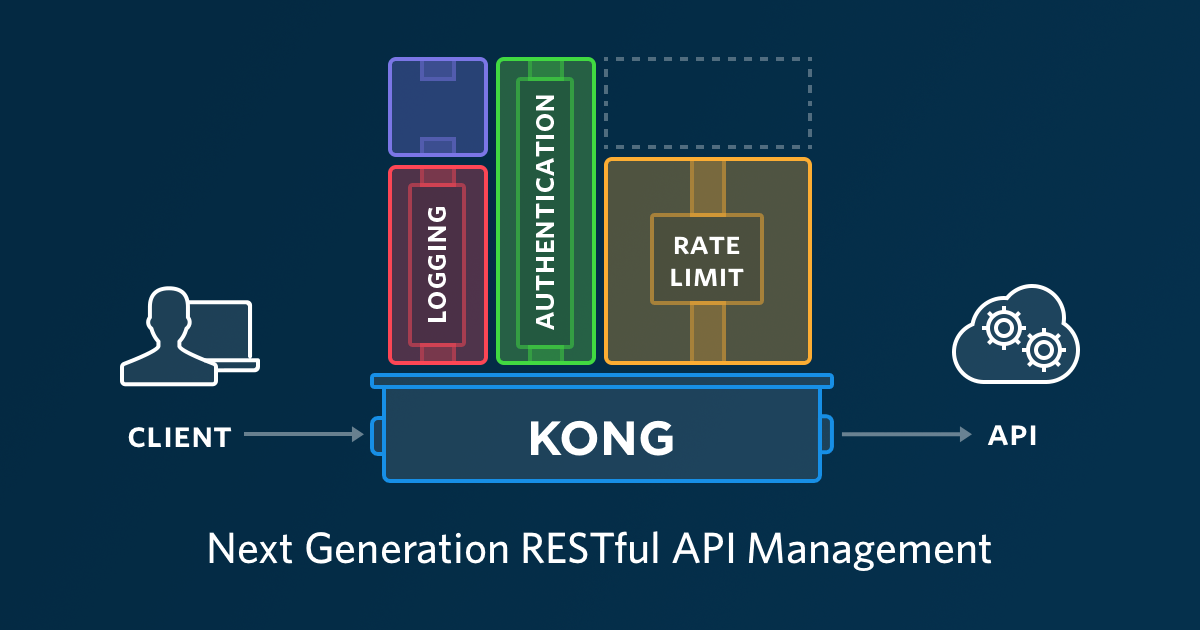
 What is Kong? Kong, in this context, is not an animal or something similar, but rather a platform that acts as a gateway or bridge for multiple API services used on one or more servers. So, if we have many API services, we can consolidate them into a single entry point using Kong Gateway.
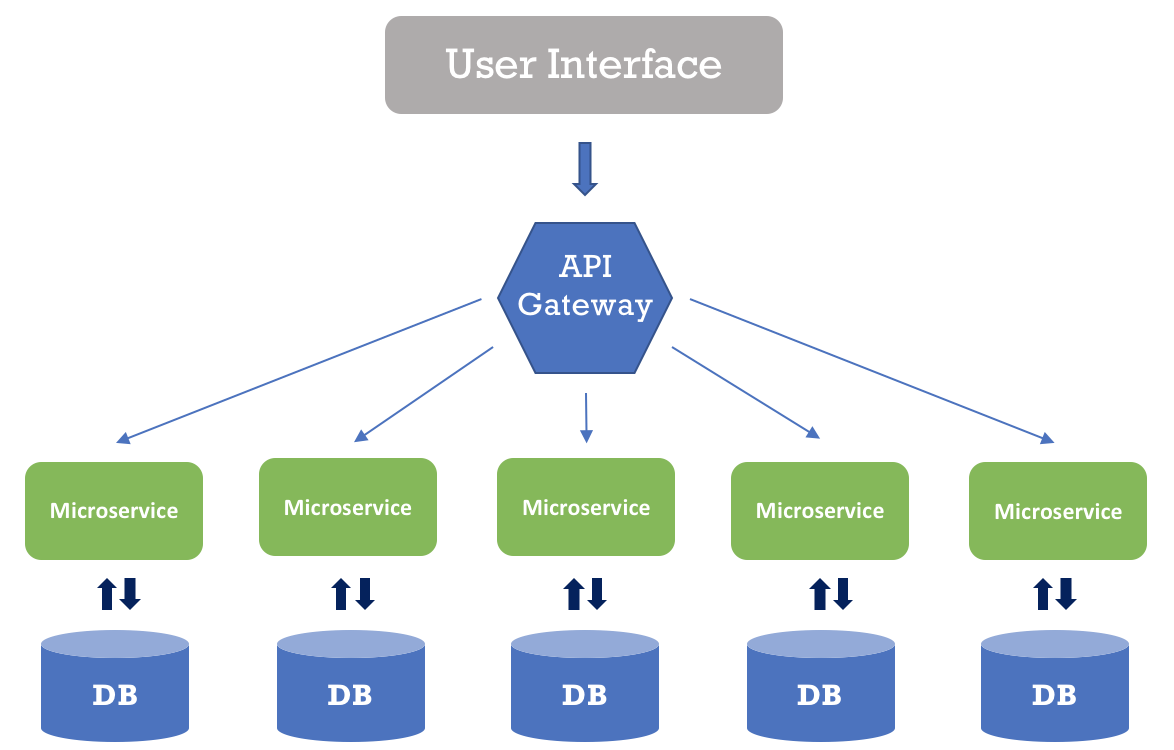
What is Microservice? Microservice is different from a microwave oven, haha! To clarify, let me give an analogy. Suppose we’re building a POS (Point Of Sale) application, and we want to separate each API service, such as an API for users, inventory, and transactions. Each service will be interrelated but separate. Thus, all the API services we create will function according to their respective parts and make up the different components of the POS application.
Still confused? Maybe the diagram below will help clarify things.

source smartbear
Alright, let’s dive into the tutorial.
Step 1: Install Database
First, we need to install PostgreSQL as the datastore for Kong. Kong supports only two databases for its datastore: Cassandra and PostgreSQL. In this tutorial, we'll use PostgreSQL version 11.
Add PostgreSQL to the repository:
$ wget --quiet -O - https://www.postgresql.org/media/keys/ACCC4CF8.asc | sudo apt-key add -
$ sudo sh -c 'echo "deb http://apt.postgresql.org/pub/repos/apt/ `lsb_release -cs`-pgdg main" >> /etc/apt/sources.list.d/pgdg.list'
Update the repository and install PostgreSQL
$ sudo apt update
$ sudo apt install postgresql postgresql-contrib
Step 2: Create Database
Access PostgreSQL and create a new database
$ sudo su - postgres
$ psql
Create database
$ CREATE USER kong WITH PASSWORD 'password-user-kong'; CREATE DATABASE kong OWNER kong;
Step 3: Install Kong
First, download the Kong installation package from here. After that, update the repository and install Kong.
$ sudo apt update
$ sudo apt install openssl libpcre3 procps perl
$ sudo dpkg -i kong-community-edition-0.14.1.*.deb
Step 4: Configuration
After the Kong installation is complete, copy the configuration file stored in /etc/kong.
$ sudo cp /etc/kong/kong.conf.default /etc/kong/kong.conf
Remove the “#” from the directives to match the example below
database = postgres
pg_host = 127.0.0.1
pg_port = 5432
pg_user = kong
pg_password = password-user-kong
pg_database = kong
Save the file changes, then run Kong migrations and start the Kong service
$ sudo kong migrations up [-c /etc/kong/kong.conf]
$ sudo kong start [-c /etc/kong/kong.conf]
Finally, check if the Kong installation was successful
$ http localhost:8001
HTTP/1.1 200 OK
Access-Control-Allow-Origin: *
Connection: keep-alive
Content-Length: 5584
Content-Type: application/json; charset=utf-8
Date: Wed, 21 Nov 2018 04:33:07 GMT
Server: kong/0.14.1

{
    "configuration": {
        "admin_acc_logs": "/usr/local/kong/logs/admin_access.log",
        "admin_access_log": "logs/admin_access.log",
        "admin_error_log": "logs/error.log",
        "admin_listen": [
            "127.0.0.1:8001",
            "127.0.0.1:8444 ssl"
        ],
    ...
    "tagline": "Welcome to kong",
    "version": "0.14.1
}
or with curl
$ curl -i http://localhost:8001
By default, Kong listens on several ports:
8000: Proxy for API requests from clients to upstream services (servers)
8443: SSL proxy
8001: Admin API for Kong configuration
8444: Admin API over SSL
That's all for now, see you~